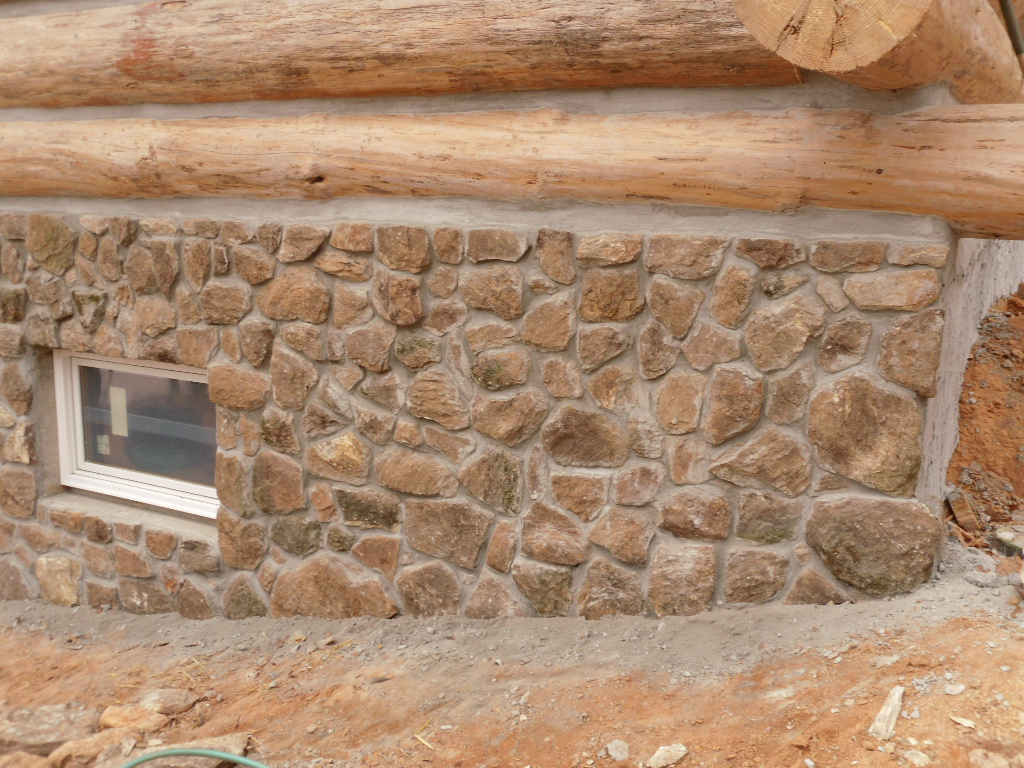
One of the guiding constructs of the Erywilde project is to use as much truly “native” material as possible. The logs are from the trees growing on the property. The oak floor is from a massive oak tree felled by a summer storm. Even the platform for the utility shed was a huge slab of concrete near the bunk house.
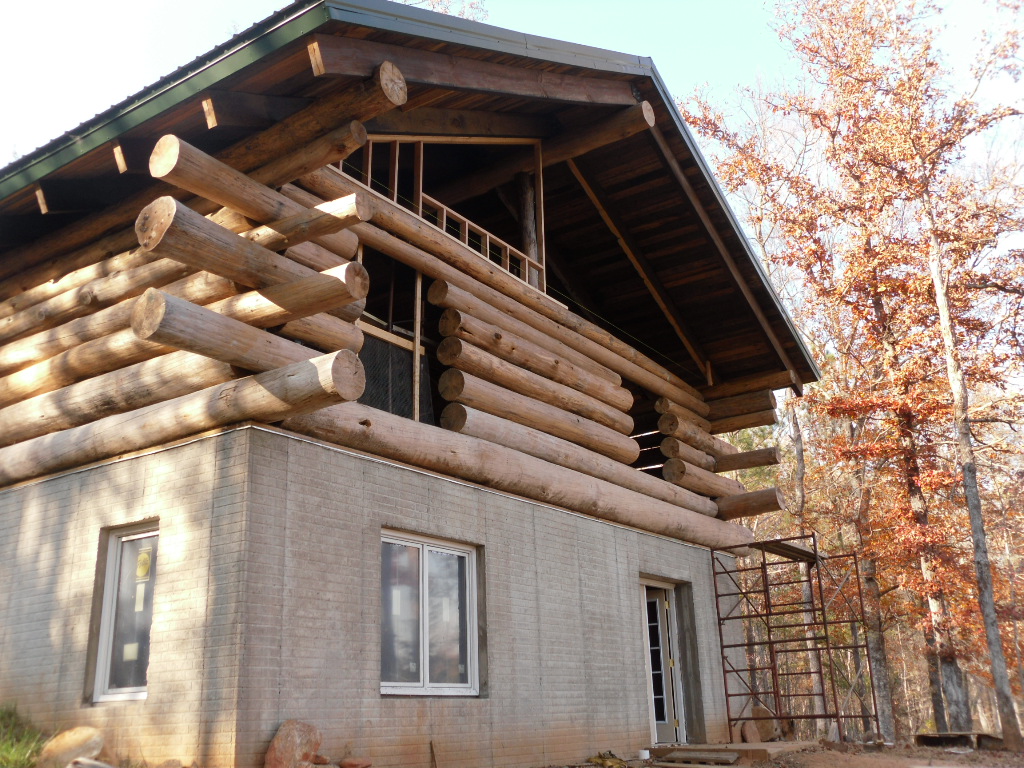
In the Log Home Builders Association (LHBA) worldview, there seem to be three key structural components to any cabin. First, the ridge pole. Most members want it as large as possible. Probably a compensating issue but for me, my ridge pole works just fine.
Second, the roof. “That’s quite a roof you have there.” is a classic LHBA comment about how expensive aforementioned roof probably was. And they are expensive. From my experience, to make it even more expensive, use metal instead of asphalt shingles. Make it a cathedral ceiling out out locally grown and milled rough cut 4 x 12’s. Finally, add sheathing (the part you see as the roof when gazed upon from inside the cabin) that was pulled up from the floor of a distillery, pressured washed, and attached to the beams on 48” centers. Oh, you also need to build a superstructure on top of the sheathing to hold the insulation. Add very expensive polyiso insulation for a nice R30 value and you have an incredible roof. Incredibly expensive.
Third, the front door. This is the BIG ONE of the big three to me. Our custom door makes a statement when the visitor approaches in the circular driveway and sees the gable end of the cabin and the massive front door. It makes a statement when approached by the visitor and the incredibly complicated grains, colors, swirls, knots and wormholes compete for attention and admiration. It makes a statement when it is swung open by the host or hostess and the visitor sees the 82” high door that is 41” wide. Finally, it leaves a lasting impression when the 200 pounds of door closes, by mistake, upon the visitor’s dog that did not get through the opening fast enough. Oops, sorry!
Desiring to make this door from material found on the property, we choose a large tree felled from the building site. Hickory. If you ever get a chance to work with hickory, DON’T! It is ornery. Twisted. Contentious. Stringy. Ill-mannered. But truly interesting and beautiful. The knots and color streaks are amazing. It is heavy and extremely strong. A prototypical wood for a LBHA log cabin. I love it.
So, now that we have the wood, the odyssey has begun. Here follows the journey from a beautiful tree in the middle of nowhere to a beautiful door in the middle of nowhere.
Step one. Cut tree.
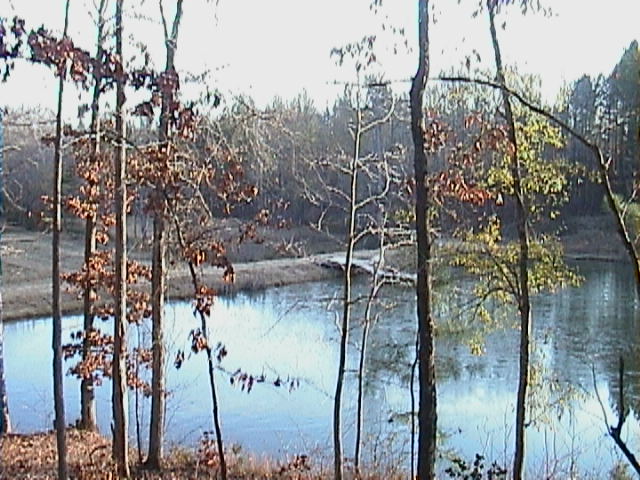
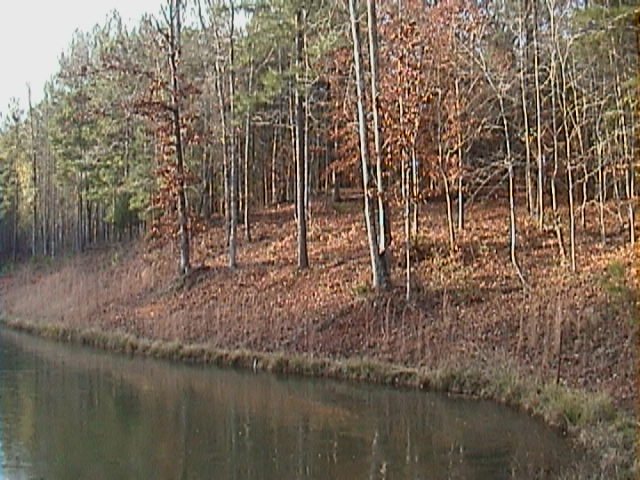
Step two. Move tree to dam where it can start to dry. Also, where the bugs can begin to digest its goodness.
Step three. Call tow truck that can wench it up onto the tow truck’s bed. To move it from the ground to the bed, you wrap a large chain around it, secure the chain to the wench and pull it up. Sounds easy. Not so.
As we were maneuvering the log into position, the large, 6′ long steel stave (spike? pike?) I was using to move the end of the log slipped and the end hit me right in the middle of my forehead. Darn good blow, rather stunned me. I struggled mightily not to pass out and tumble down the embankment of the earthen dam on which we were working. Wasn’t concerned about getting hurt in the tumble but rather the embarrassment of knocking myself out with the stave. Luckily, I was wearing my “boonie” hat (where is that thing now???) and it absorbed some of the force. Some, not enough.
I started to bleed. Scalp cuts bleed a lot and as I reached up to gingerly survey the wound with my hand, it came away wet. And red. So, I did what any self respecting guy would do, I wiped my hand on my t-shirt. Tough guy. Argh, argh.
I then noticed the t-shirt I was wearing. It had been given to me by the American Red Cross for one of my many blood donations and it had two pictures on it. One of a bull dog (dawg as some would spell it) the University of Georgia mascot (red) and and a yellow jacket, the mascot of Georgia Tech (yellow). It whimsically asked, “What color do you bleed?” My wounded scalp was providing the answer – bright red.
Step 4. Tow truck delivers the logs (had to make two trips – two large logs weigh the same as one car) to the saw mill in Milner Georgia, a small town about 18 miles from here. Logs unloaded for further processing.
Step 5. John S., the proprietor uses his “wood mizer” saw mill to cut the hickory (and the oak but they have their own, soon to be written, story) into massive planks, 2 ½ inches thick, as wide as possible and about 13 feet long. Some of the planks were 5” in width, some up to 16”.
Step 6. Boards are stacked to air dry. Hickory is about 8′ above ground, sitting on the pile of oak boards.
Step 7. Frank does research about what to do next. Since hickory is so contentious, one must be very careful how it is dried. Kiln drying would still take a period of 6 – 8 weeks and would be expensive. Plus it would probably cause the planks to twist, warp, bow, check and get perhaps, unusable. Air drying would take 12 to 18 months. Hmm. Neither choice is attractive.
In my travels, I had noticed a particularly beautiful, massive door that I admired. I asked the tenants who made the door and they thought and thought and then remembered – Lincoln S. Mr. S. was not easy to find (fleeing from creditors as many artists are?) but I did track him down.
Interesting guy. An artist whose studio is an old house off the square in a local town. Right next to the railroad track. An active track whose train periodically interrupts your conversation and demands your attention as it rumbles by, wheels screeching and horn blasting. I retained Mr. S and he went to work with his own line of research.
Step 8. Driving my pick up truck (a great tool for this project) up to Milner, I parked close to the drying stack of wood, the hickory planks being the object of my visit. Climbing up on the 8′ pile, I cleared off the tarps and drying sticks to expose the beautiful wood. First I had really seen it and I fell in love.
Next, I wiggled the boards one at a time to the edge of the pile, tilted the plank down, down, down so that its leading edge caught the tailgate of the truck. Worked the plank into the bed of the truck, climbed down from the stack, positioned myself under the plank, raised up, moved the plank further into the truck, squatted down and slid the plank until the weight it was fully borne by the truck, crawled out from under the plank, pushed the plank into the truck. Repeat. Repeat. Repeat …
There were 11 boards, some really quite heavy, over 100 pounds each. It was hot. I was sweating. Traveller, my dog was watching me from the shade of a tree, belying the expression about dogs and Englishmen. Loading finished, I drove slowly, heavily, into the sunset.
Step 8. With a working plan requiring 8 planks with a “ship lap” joint, I proceeded to take the wood to a large, commercial wood processing plant called Randall Brothers. They agreed to “straight-line” and plane the boards down to 2” and as wide as possible.
Step 9. I left the wood at Randall Brothers for a few days as I considered to choose them to do the joinery. They called after about a week and said “You have to come get your wood because it is acting up. It has already started a fight with one of our dock workers, flirted with a secretary and currently is smoking something in the leather chair of the big boss.”(I told you it was ornery.) I went back to retrieve my errant wood.
Step 10. Stood in the office of the floor manager of Randall brothers talking about how I could further process the wood and advance the progress of the door. It was sort of like a bunch of dads standing around talking about a son who wanted to get better in baseball. Calls were made. Names were remembered and shared. Heads were scratched. Conclusions were made. I loaded up the wood. One of the dock workers complained about how heavy the boards were and got a forklift. I thought “wimp” as I adjusted my hernia support.
Step 11. Took the boards to Mr. S’s place, a temporary resting place.
Step 12. A Monday. Met Mr. S, loaded up the planks and headed up the “the best woodworker in Georgia” who had a very complete machine shop. According to Mr S., he even had an Altendorf. Wow! His very own Altendorf.
One of the interesting elements of this new role as log cabin construction project manager is how many times I am absolutely clueless about what one of the tradesmen/ artist/laborers is discussing. Sometimes I nod wisely, sometimes I say “wow”, sometimes I ask for clarification (rarely) but mostly I look lost. But with the right aplomb, a skillful actor can make “lost” look wise and contemplative. That is the look I strive for.
With Mr. S in the lead, we drive into North Georgia, north of Canton. It was a long drive. Confusing. Lots of turns, including a wrong turn into a driveway. Finally we arrive and are met by another “Mr. S.” I will call him “SS” as his first name also starts with an “S” .)
Step 13. Unload wood. Look at wood. Try to arrange wood so it is in pairs that “lived together” inside the tree. When put together, they are almost mirror images (called bookending) around the centerline. Turned wood this way and that to get it aligned with the way it was growing (knots are actually directional). Marked the wood with tape and numbered it. Process took at least an hour.
Step 14. Run the wood through a joiner. This gets the bottom surface perfectly level. For example, if the wood was cupped, it would take the outer edges down to be in line with the middle section. If bowed, it would shave the leading and trailing edge to the level of the middle of the board.
Step 15. Run the wood through a planer. This is sort of like an upside down joiner. It mostly is to smooth the wood and remove the wood until it gets reduced to a specified thickness. We planed the wood down to 2”.
Think of a planer like a rolling-pin with blades running the length of the pin. Spin it really fast and then run the wood through it. Since hickory is so tough, the planer would sometimes catch on the end-grains of the wood around a knot as the grain curved from parallel to the face of the board to perpendicular. Now the planer is trying to cut across the grain instead of with the grain. This it does not do well and the hickory resisted its overtures. The result was a definite change in the pitch of the planer, a cross between a whine and a moan, and a large gash of hickory fibers would be ripped. Ugly. Probably why fine furniture is not made of hickory.
Step 16. Go to lunch. Went to a very tony garden store with a little lunch counter. The crowd reminded me of some country clubs and golf courses I have frequented infrequently. Definitely the 1%. I had a turkey with prosciutto panini sandwich. Lemonade. Very chic. Very slow too as I remember. Note to the Fertile Ground accountants – I paid for the lunch so I could keep the artistic muses flowing in my two artists.
Step 17. Cut boards to specified width, removing the centers of the largest boards. It turns out that the most stable wood is wood with the grain running perpendicular to the flat surface. This is called a “quarter cut” and by removing the heart wood of the largest plank, we got two quarter cut planks 5” wide. Instead of using the ship lap approach (which wastes a lot of wood), we opted instead for a tongue and groove arrangement. Except it was really a groove and groove with a square insert between them called a tenon serving as the tongue.
My dictum was to let the material dictate the construction so we ended up with 7 5” planks and one 6” plank. As I said earlier, custom.
Step 18. Cut a guide 82” long (doors are typically 80”) and measure out the best 82” of each plank. Mark. Cut to length.
Step 19. With a router, cut square groove in edge of each board. Make two passes. Cut is slightly short of being centered on height of board. Turn board over, make another two passes. This enlarges the groove slightly. Make sure to only groove the inside edge of first and last board.
Step 20. Different router blade, 45% angle. Run along corner edges of all boards. Forward and back. Top and bottom. Left and Right. One board, 8 passes. 8 boards for a total of 64 passes. Pick up belt sander after each edge is routed and sand to smooth and remove any stray hickory fibers.
Checked my watch for about the 100th time. I think it is about 7.
Step 21. Cut slats to be the “tongues”. This is very exacting work. Measure. Tap into place. Remove. Run through planer. Tap. Tap. Tap.
Starts to rain. Hard! Run out to roll up windows (where did this come from?). Got wet. Extra hickory not involved in project gets wet. Bring it inside. Dog, Princess, gets wet. Brings me her now wet tennis ball for the 50th time.
Step 22. Assemble the door. Yeah. Starting to look like a door. Very beautiful but not yet complete.
Step 23. SS has a unique way to add stability to the door. He measures out a wedge shape that echoes the shape of some huge hinge straps he just happens to have. So the wedge is wider at the hinged side and tapers to the other edge. He makes a template and marks the door. Next he takes a router and removes all the wood in the door inside the wedge area, down about ¾ of an inch. This takes a really, really long time and generates a tremendous amount of wood chips.
I call home to explain why I am two hours late for dinner. Wife agrees to put it in the refrigerator.
Step 24. SS pulls two pieces of walnut from his stock of wood and runs it through the planer. The planer handles it like “butta” and out comes a couple of beautiful pieces of walnut. SS takes the template and marks the pattern onto the walnut.
Step 25. SS uses his Altendorf to cut the walnut into wedges. Very exact worker, SS is. Wood edges were so sharp, I actually cut my finger on the edge, sort of like a paper cut.
Step 26. SS uses an angled router to cut an edge in the door’s cutout so that it angles in from the top. He puts a complimentary angle on the walnut wedge.
Step 27. Slide walnut into door’s routed grooves. First one fits like a glove. SS left an edge on the walnut so it sits up a bit from the surface of the hickory, hiding the gap where the hickory meets the walnut. Very clever. This is why, I guess, I am paying this guy $70 AN HOUR!!!
Adjust the second wedge until it fits perfectly.
Step 28. Adjusting my hernia support, I help load this 200 pound door into the back of my van. The rest of the wood soon joins it. I pay as I whimper a bit at the bill.
Finally I drive off at 11:00 pm and am the excited owner of a beautiful work of art. Yeah.
Woodenly yours,
Frank